You pick a pattern like herringbone, ashlar, or basket weave, and then you are outside with dirty hands, squinting at a printout, trying to work out which brick goes where. At some point you lose track, one stone ends up in the wrong spot, and nothing lines up anymore.
The new Brick Laying Guide in PatioPlanner 2.0.4 is built for exactly that.
How it works
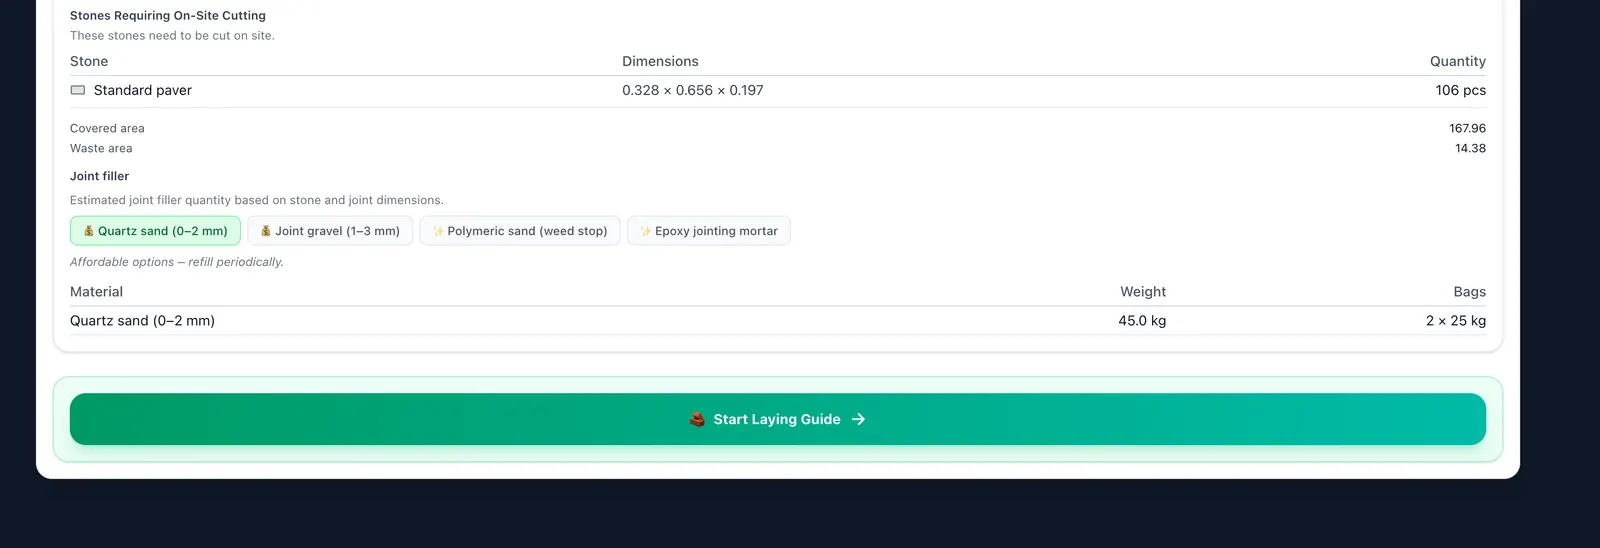
Once you have a surface and a pattern set up, a green “Start Laying Guide” button appears below the shopping list. One tap and PatioPlanner switches into a full-screen mobile view that walks you through the pattern stone by stone.
Two views at once
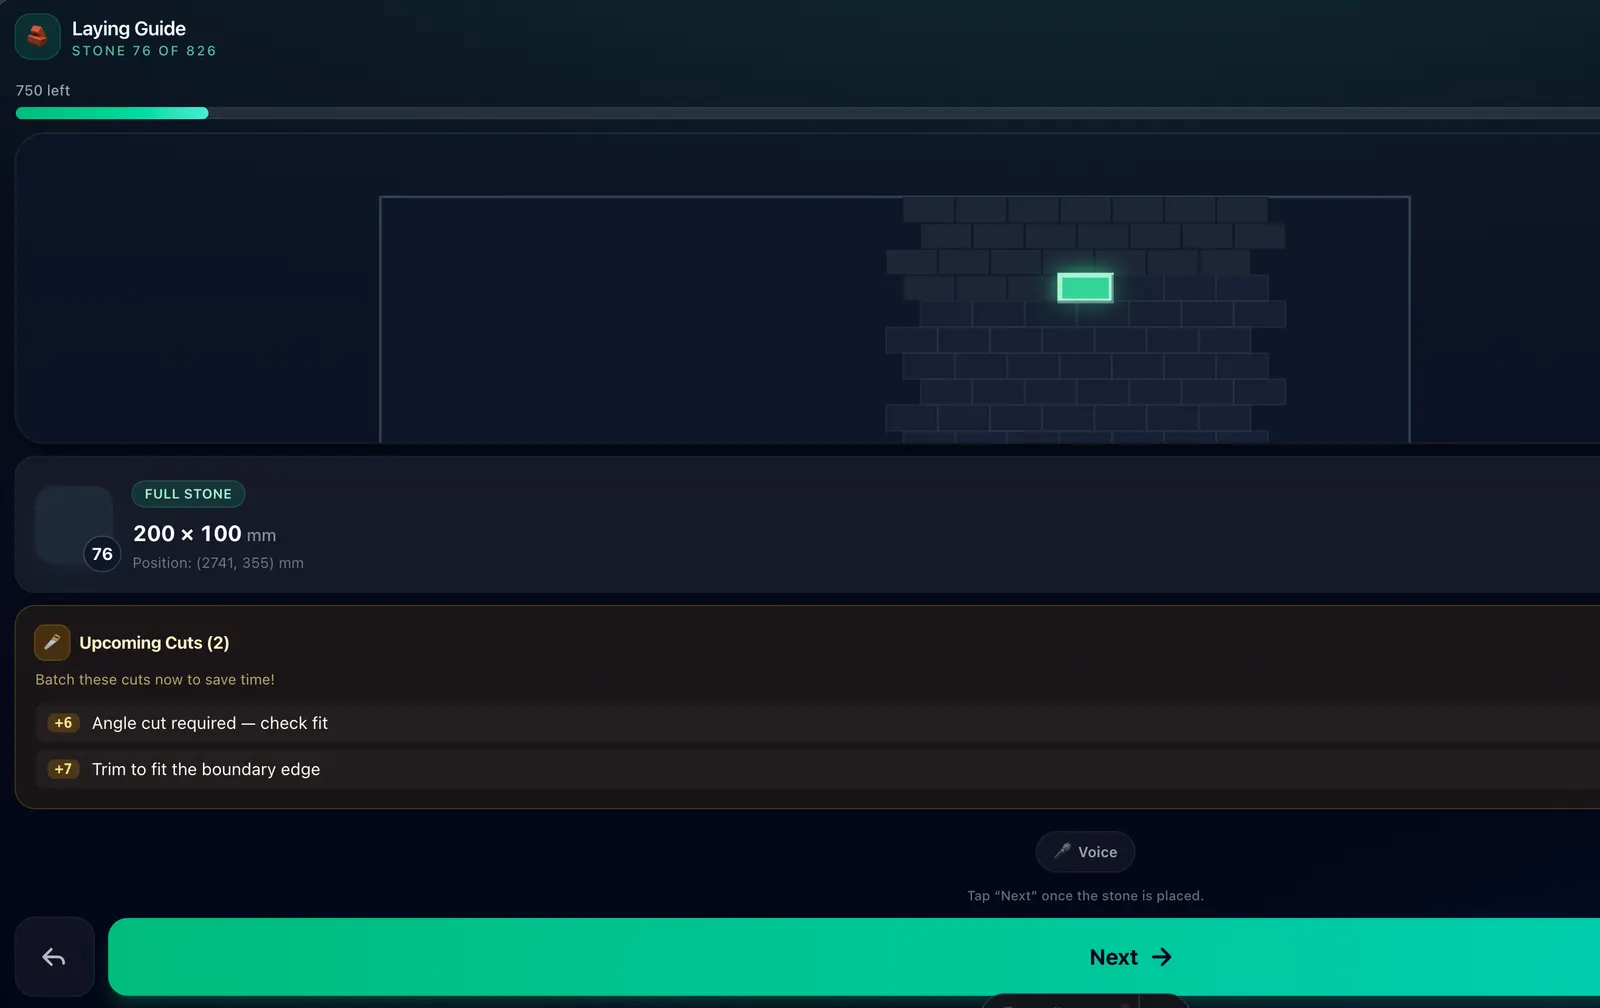
- Minimap (left): Shows the entire surface at a glance. A blue rectangle marks where the detail view is currently focused. Already-laid stones appear in your chosen stone colour.
- Detail view (right): Shows the current stone and its immediate neighbours in close-up. No scrolling through a large area; you see the exact spot where you are working right now.
The current stone glows green. Completed stones show in their real colour, upcoming stones are greyed out.
Hands-free controls: built for dirty hands
When you are laying pavers, your hands are dirty. That is why the guide offers two ways to advance without touching the screen:
- Voice control: Say “Next” and the guide moves forward.
- Wave detection: Hold your hand over the front camera for a moment. The guide senses the motion from the change in brightness and advances to the next stone.
Both can be switched on and off, and there is still a large “Next” button.
Cut-list lookahead
The guide scans 8 stones ahead. If upcoming steps require cuts, an orange alert appears: “Upcoming Cuts”. This lets you batch all your angle-grinder work at once instead of running back and forth for each cut.
Progress and motivation
A progress bar shows how far along you are at all times. At 25 %, 50 %, 75 % and 100 % a short message appears. It sounds minor, but when you are laying 600 stones it helps.
Undo
Tapped too early? The large “Undo” button takes you back one step instantly.
Try it now
Open the planner, set up your surface and pattern, and hit “Start Laying Guide”. It helps most with complex patterns like herringbone or ashlar.